
A Pitchwise data room is a secure, structured environment for sharing a collection of documents with investors, buyers, or partners, all from one shareable link.
What is a data room?
A data room lets you organise multiple related documents – a pitch deck, financial model, cap table, and legal documents – into a single controlled environment. Each visitor accesses it through a secure link, and you track engagement across every document inside.
Data rooms are used for fundraising due diligence, M&A transactions, partner onboarding, investor reporting, and sales deals.
On Pitchwise, data room creation is available for users on the Pro Plan or the Teams plan.
Step-by-step
1. Go to Data Rooms
On your Pitchwise dashboard, click Data Rooms in the left sidebar. You'll see any existing rooms and a Create a Data Room button.
2. Click 'Create a Data Room'.
Click the Create a Data Room button. Give your room a name — for example, Series A Diligence Room or Acme Corp – Partnership Review. This is your internal label.
3. Add folders and documents
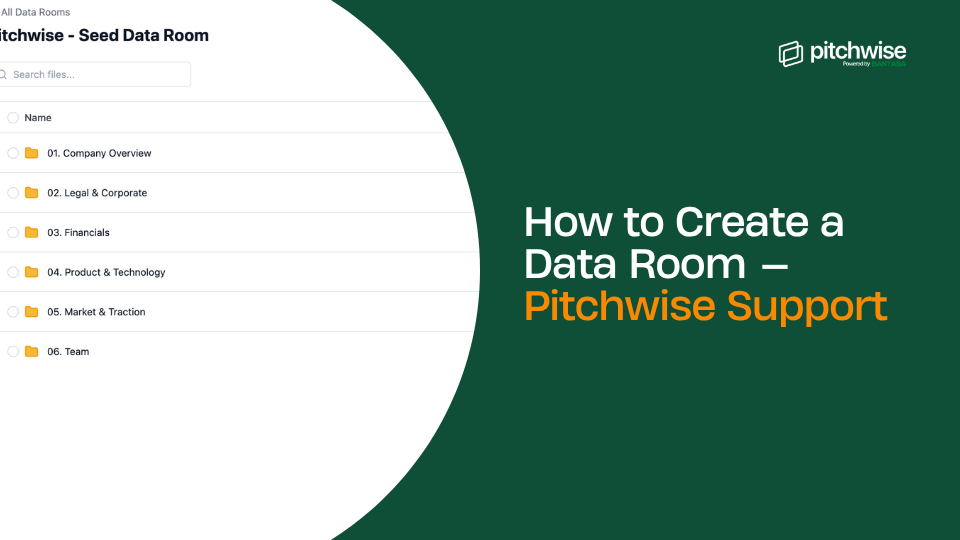
Inside your new room, click + Add to upload files or create folders. Organise documents into numbered folders to make navigation easy for your viewers.
Tip: Use numbered folders to control the order in which documents appear, for example, 00. Overview, 01. Fundraising, 02. Financials, 03. Product, 04. Traction & Metrics, 05. Customers & Market, 06. Legal, 07. Team, 08. Press & Media. This is the convention Pitchwise uses internally, and it makes rooms feel professional and structured.
.png)
4. Configure Permissions
Click Settings in the top right, then go to the Permissions tab. Under Access Settings, choose how viewers must identify themselves before entering:
Email required
Viewers must enter their email address to access the data room. Their email is collected but not verified.
Email verification
Pitchwise sends a one-time passcode to the viewer's email to confirm their identity before they can enter. Use this when you need verified engagement data tied to a named individual.
Allow specific emails
Only viewers whose email addresses you specify can access the room. Anyone outside your list is blocked automatically — even if they have the link.
Tip: Allowing specific emails is the most proactive access control Pitchwise offers. It prevents unauthorised access before it happens rather than detecting it afterwards. Use it for partner due diligence, board materials, and any high-stakes sharing where you know exactly who should have access.
5. Configure CTAs (optional)
Still in the Permissions tab, under Call to Actions, you can enable:
Allow call scheduling
Let viewers schedule a call directly from the data room. Requires a Calendly link.
Allow messaging
Let viewers send you a message directly from the data room.
6. Configure Security
Go to the Security tab. Toggle Allow Downloading to control whether viewers can download the original files.
Note: Excel files are always downloadable regardless of this setting to preserve full functionality for viewers.
7. Set the room to Active and save
Go back to the General tab. Make sure Data Room Status is set to Active. Click Save Changes.
8. Share your data room
Click the Share button in the top right. A modal will appear showing your Shareable link and your current Access setting. Click Copy link and share it with your intended viewers. Recipients click and enter your data room with no Pitchwise account required.
Monitoring your data room
Click 'Analytics' in the top right to see engagement across every document in the room — who visited, which documents they opened, time per page, and when they returned.
Managing access
- To deactivate the room: Settings > General > set Data Room Status to Deactivate
- To delete the room permanently: Settings > General > Danger Zone > Delete this data room
Note: Deleting a data room is permanent. There is no way to recover it. Deactivate the room instead if you might need it again later.
Related articles
-> How to manage link settings
-> Understanding slide-level analytics